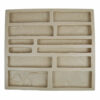
Stone Master Molds Rubber Molds for Concrete, EZ Stack Flat Mold
Stone Master Molds Rubber Molds for Concrete, EZ Stack Flat Mold
$132.95
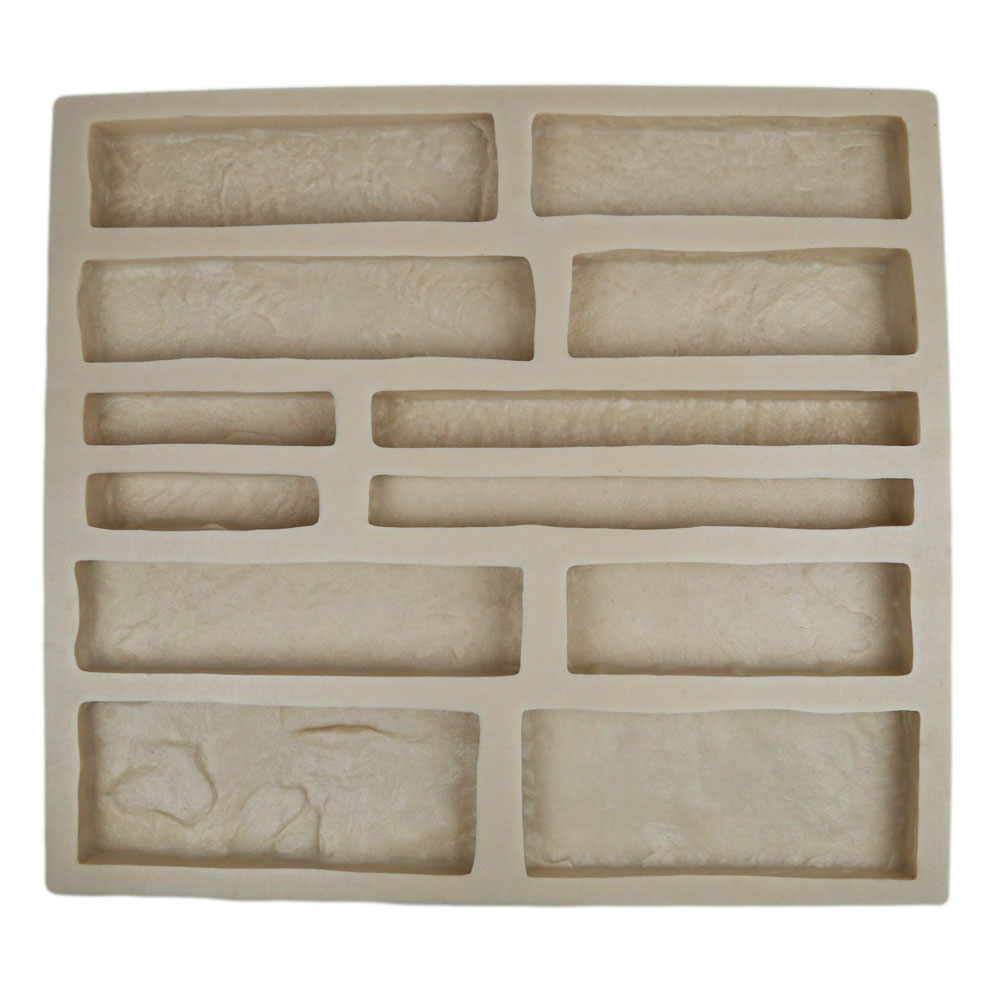
- EZ Stack comes in 3 widths of 4.5″, 3″, 1.5″ for quick and easy installation
- Professional grade rubber mold will last for hundreds of pours
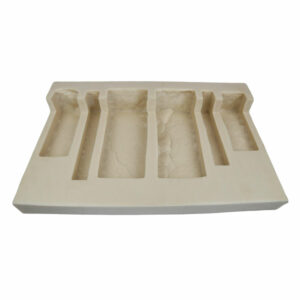
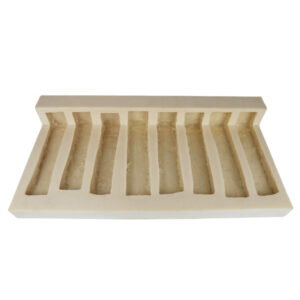
- Each of 5 mold versions has one-of-a-kind stones
- NO RELEASE AGENT necessary
- Matching EZ Stack corner molds are also available
- Made in the USA

Stone Master Molds EZ Stack Molds for Concrete
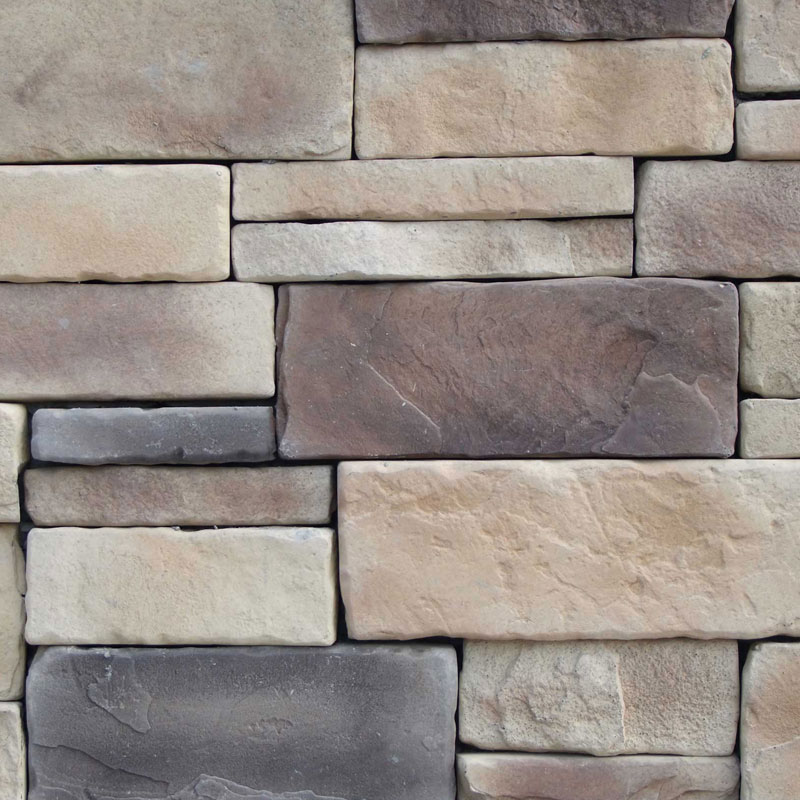
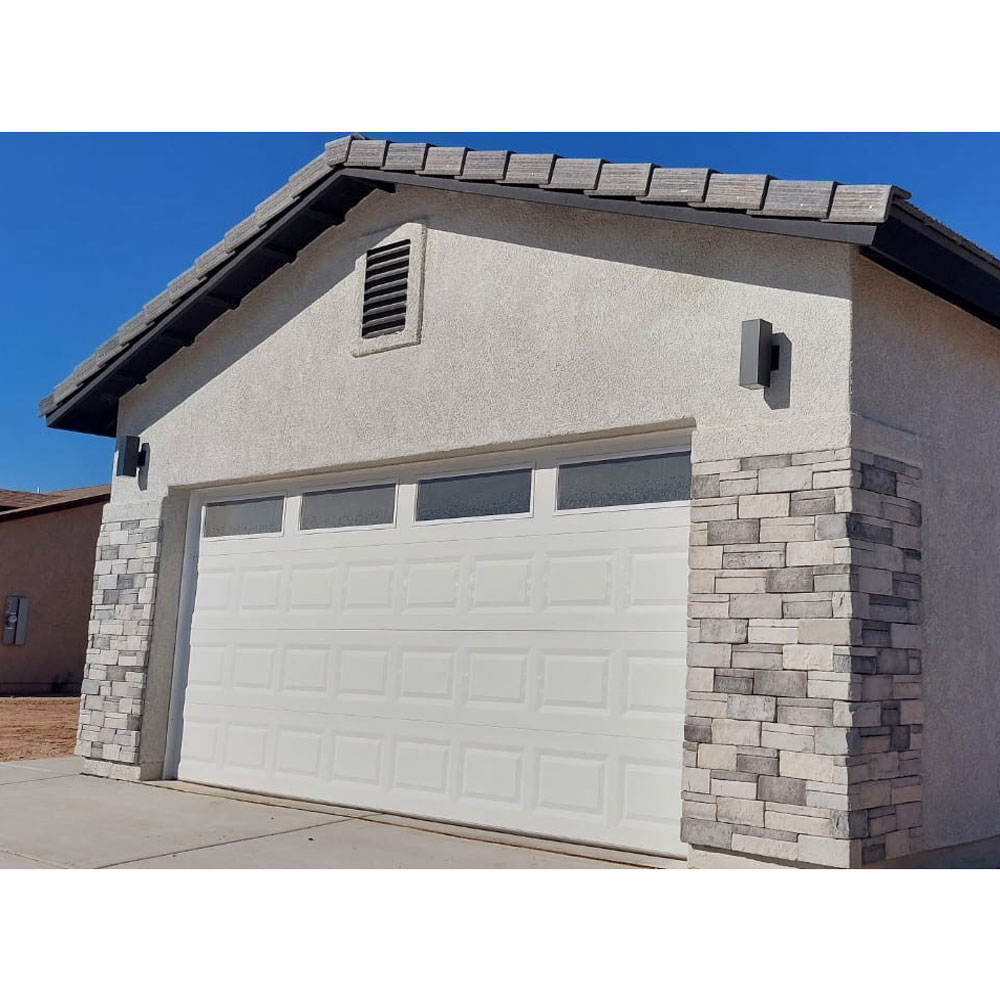
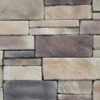
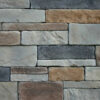
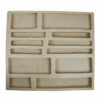
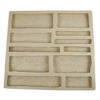
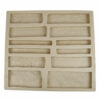
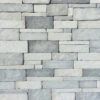
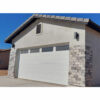
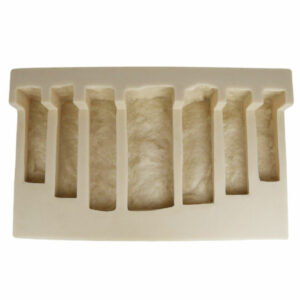
EZ Stack is a stone veneer stacked stone mold for concrete that has a clean, contemporary look and is a favorite among designers and architects. For quick and easy installation, EZ Stack stone comes in 3 widths of 4.5", 3", 1.5". The finished product/stone is approximately 1-1.75" thick.
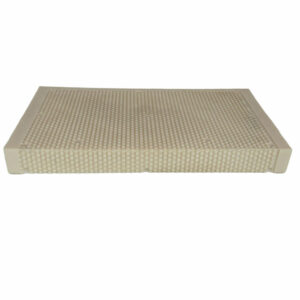
Additionally, each stacked stone mold for concrete is approximately 22.75" in length by 20.5" wide by 2.25" deep and makes approximately 2.4 square feet dry stacked or 2.9 square feet with a grout joint.
Our molds require NO release agent. This will save you money, time, and clean up, as well as easy, clean release of face color pigments, unlike plastic molds, urethane molds, and silicone molds.
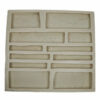
Available in 5 unique variations, with no stone repeats. Additional versions available upon request. Matching EZ Stack corner molds are also available.
Made in the USA, both materials and labor.
Manufactured Stone Basic Mixing Procedures Using A Pre-bagged Concrete Mix for your EZ Stack Molds:
This is one suggestion for mixing the concrete for the EZ Stack molds. There are many other instructions available online, including videos.
BE SURE TO USE A CONCRETE MIX THAT CONTAINS PORTLAND CEMENT. We recommend Sakrete Maximizer, as it has lightweight aggregate, is high strength, and yields more product, but there are many kinds you can use. Follow the manufacturer’s instructions for mixing.
If using pigment, add desired iron oxide pigment to mixer (100% pure, no additives). These can easily be found on Amazon, etc.
A plasticizer can be added to reduce the amount of water in the mix. Pour into the molds which may already have coloring additives… NO RELEASE AGENT NECESSARY. Vibrate molds to release air bubble.
Finally, cure the concrete in the EZ Stack molds for approximately 24 hours at the minimum of 70 degrees Fahrenheit before demolding. Higher humidity is desired. Molds can be covered with a tarp to retain more heat and humidity. Continue to cure demolded stones at 70 degrees or greater until ready.



RoVic –
The material of the molds is great, the size is good too, this mold will give you thick pieces. Absolutely loved it, will continue to order from Stone Mold Masters. The molds are heavy too, it gives it more resistance.
KevinS –
Extremely heavy duty and durable. Very nice mold..
Andrew Torres –
Super heavy duty, great quality feel about them. It looks pricey but for what you’re getting, but it’s worth it. The other molds I researched looked frail and didn’t look like they’d last nearly as long as these.A little heavy but that’s to be expected with quality. Super happy with them.
Nick Trolio –
Great product*****
Jeffrey Pustay II –
I actually bought 2 versions of the molds just because I wanted to mix bigger and smaller stones. So far they have been very durable. I made 6 batches using both and had no problems. This is def the cheaper route since veneer stones are so expensive, its a lot cheaper to buy a big bag of portland cement and make your own. After a couple of batches I experimented a little and to change the size of the stones would put cardboard in a middle of one of the molds so it would be half the size and that works. I’ve also cut pieces of wood the size of the molds and slightly pressed down on the cement to give myself a corner piece. Not sure how durable its going to be long term but I am able to give myself custom corner pieces with just cardboard and a spare piece of wood. I recommend getting dyes and mixing just a little in each batch. Also I took a power sander and removed the pads just to vibrate the mold to get air bubbles out.