There’s something satisfying about building your own garden path. Not the rushed, weekend-DIY kind where things fall apart later. The kind that actually holds up, looks good, and feels intentional. That’s where decorative concrete stepping stones come in.
You’re not just pouring concrete and hoping for the best. You’re shaping something that becomes part of your space. And if you do it right, it stays there for years without cracking, fading, or looking like a failed experiment. Let’s break it down in a way that actually works in real life.
What You Actually Need Before You Begin
Before jumping into DIY decorative stepping stones, slow down for a second. Most issues happen because people rush into pouring without setting things up properly. You don’t need a long shopping list; just the right basics.
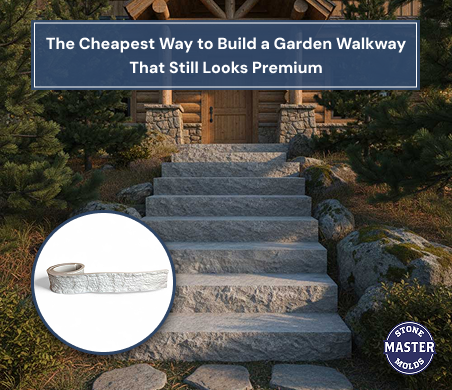
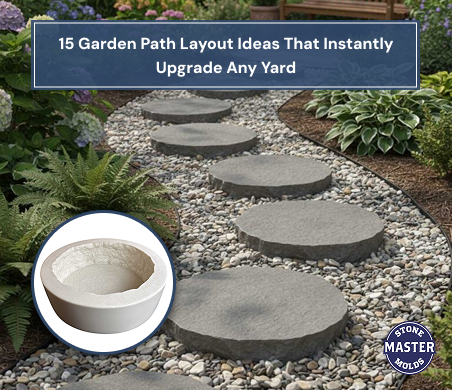
Concrete mix, water, a mixing container, a mold, and that’s it. That last one matters more than people think. It controls the shape, depth, and overall strength of your stone. If you want texture or something that doesn’t look flat and boring, explore options at Stone Master Molds. They give you patterns that look intentional instead of random.
Add a few decorative elements if you want. Stones, glass pieces, leaves, or even simple patterns; nothing too chaotic. Clean always looks better in the long run.
DIY Decorative Stepping Stones Step by Step
This is where most people expect a rigid checklist. But real talk, it’s more about understanding the flow than memorizing steps:
1. Preparing Your Base
Even if you’re making the stones separately, think ahead. Where are they going? A stable surface matters. If the ground shifts later, your stones will feel it. And concrete doesn’t like that.
2. Mixing the Concrete
Keep it simple; not too watery, not too dry. A sloppy mix weakens everything. You want a thick, workable consistency that holds shape without collapsing. This is the foundation of all DIY concrete stepping stones step by step guides, and it’s the part people still get wrong.
3. Pouring Into the Mold
Pour slowly, and spread evenly; don’t rush this. Air pockets form when you dump everything in at once. Tap the mold lightly to release trapped air. That small step makes a huge difference in durability.
4. Adding Decorative Elements
Now the fun part. This is where decorative stepping stone ideas come to life. Press in pebbles, leaves, or textured patterns. Keep it balanced, though. Too much detail can make it look messy. If you’re aiming for unique stepping stone designs, focus on one idea and do it well instead of trying five things at once.
5. Letting It Cure Properly
This is where patience pays off. Don’t touch it too early. Don’t move it around. Let it cure slowly. Fast drying weakens the structure and leads to cracks later.
6. Removing and Finishing
Once it’s fully set, remove it gently. If edges feel rough, smooth them out slightly; nothing extreme. You’re not sculpting, just refining. At this point, your DIY garden stepping stone ideas finally turn into something real you can place in your garden.
Decorative Concrete Stepping Stones Ideas that Actually Look Good
Not every “creative” idea looks good in a real garden. Some decorative stepping stone ideas feel great in theory, but end up looking cluttered. So keep it simple and intentional. Try things like:
- Natural leaf imprints for a subtle, organic look
- Geometric patterns using molds or liners
- Embedded stones or glass for texture
- Minimal engraved designs instead of heavy decoration
Creative concrete stepping stones don’t need to scream for attention. They should blend into your space while still feeling unique.
How to Make Concrete Stepping Stones Last Longer
This part matters just as much as how to make concrete stepping stones. Because making them is easy, baking them last is the real challenge.
- Start with a solid mix. Weak concrete leads to early cracks.
- Then focus on curing. Give it time. Rushing this step is one of the fastest ways to ruin your work.
- Placement matters too. A compacted base helps distribute weight and prevents shifting.
- And finally, consistency. Even thickness across the stone prevents stress points.
Why Good Molds Make Everything Easier
The mold you use changes everything. It affects the thickness, the finish, and how consistent your results are. If the mold is uneven or flimsy, your stones will be too. That’s why using well-designed options like the ones from Stone Master Molds makes the process smoother. You get control over the final look without constantly fixing mistakes. And if you’re aiming for clean, repeatable results, that control matters.
Build Something You Won’t Have to Fix Later
Making garden stepping stones at home sounds simple. And it is, until shortcuts start showing up as cracks or uneven surfaces. If you take your time, choose the right materials, and use reliable molds, the difference is obvious. Your path looks better, feels stronger, and lasts longer.
That’s where Stone Master Molds comes in. With the right tools, you’re not guessing your way through the process. You’re building something that actually holds up.
FAQs
How do you make decorative concrete stepping stones?
You start with a good concrete mix, pour it into a mold, and add decorative elements like stones or patterns before letting it cure fully. The key is balance between design and structure.
How can I decorate concrete stepping stones?
You can use textures, embedded materials, or simple patterns. Leaves, pebbles, and geometric designs work well. Keep it clean so the final look doesn’t feel cluttered.
How do you make stepping stones last longer?
Use a strong mix, allow proper curing time, and place them on a stable base. Consistent thickness also helps prevent cracks and improves durability.