There’s a point where every garden starts to feel unfinished. You’ve got plants, maybe a lawn, but moving through it feels random. That’s usually when people start looking into DIY concrete stepping stones. Not because it’s trendy, but because it actually solves a real problem.
You get a clear path, less mud, and something that looks intentional instead of thrown together. And no, you don’t need to be “good at DIY.” If you can mix and pour, you’re already halfway there. The rest mostly comes down to using the right concrete stepping stone molds and not rushing the process.
Getting Started With DIY Concrete Stepping Stones
Most people stall before they even begin. They assume it’s complicated, but it’s not. Making garden stepping stones is just shaping concrete into something you can walk on. The complexity only shows up if you skip basics or try to freestyle everything.
Start simple; pick a shape you like. Decide how many stones you need. Then figure out where they’ll go. You don’t need a blueprint, but you do need a rough plan so your path doesn’t zigzag like a confused GPS.

How to Make Stepping Stones for Garden
Let’s walk through the process, but in a way that actually makes sense when you’re standing in your backyard with a bucket of concrete.
Step 1: Choose the Right Mold
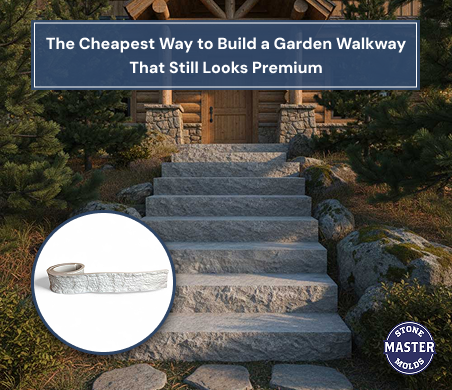
First, your mold matters more than you think. A good mold saves you from uneven edges and weird shapes. If you want that clean, stone-like finish, it’s worth using proper form liners or concrete stepping stone molds instead of makeshift trays.
Step 2: Pick the Best Concrete Mix
Now the mix. If you’re wondering about the best concrete mix for stepping stones, don’t grab the cheapest bag and hope for the best. You want something smooth enough to settle into the mold but strong enough to handle foot traffic. Pre-mixed concrete for casting usually works well.
Step 3: Prepare the Mold
When you mix it, don’t eyeball the water. Too much water makes the stone weak. Too little and it won’t settle properly. You’re aiming for something thick but still pourable.
Step 4: Mix and Pour
Pour it into the mold slowly. Tap the sides a bit. That helps release air bubbles, which otherwise turn into those annoying little holes on the surface. Smooth the top, don’t overwork it. Just enough to level things out.
Step 6: Let It Cure
Do not rush this part. Leave the stone in the mold for at least 24–48 hours before removing it. Then let it cure further before placing it in your garden.
Where Most Beginners Mess Up
You’d think the tricky part is pouring, its patience. People get curious and try to remove the stone too early. That’s how edges break, and corners chip off. Give it at least a full day, sometimes two, and longer if the weather’s humid.
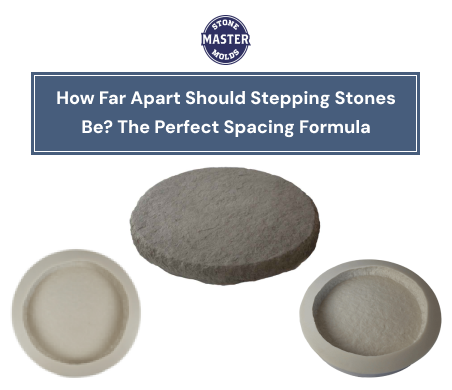
Another mistake? Skipping mold prep. A light coating of oil or release agent makes a huge difference. Without it, your stone might stick, and then you’re prying it out like you’re opening a stubborn jar. Also, spacing. It sounds minor, but it affects how the path feels when you walk on it. Too far apart and you’re stretching your steps. Too close and it looks cramped.
Benefits of Using a Mold
You can go the DIY-everything route. However, freehand stepping stones rarely look as good as people imagine. Using concrete stepping stone molds gives you consistency. Every piece comes out the same size. That alone makes your path look more put-together. If you’re aiming for clean results without trial and error, this is where you want to invest a little thought.
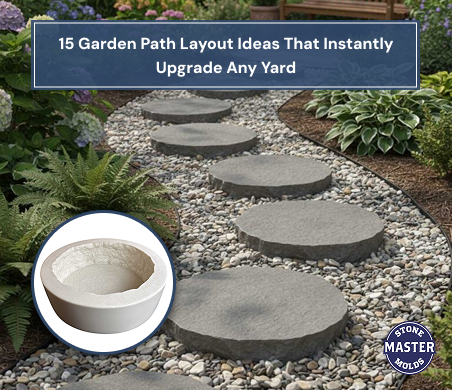
Easy Stepping Stone Ideas That Don’t Look Basic
Here are a few ideas that actually work in real gardens:
- Straight-line paths with evenly spaced stones
- Slightly irregular placement for a more natural, relaxed look
- Pressed leaf patterns if you want something subtle but interesting
If you’re exploring outdoor stepping stone ideas, think about how your garden already looks. The stones should match the vibe, not fight it. And if you’re new to this, stick to easy DIY stepping stones for beginners. Fancy designs can wait until you’ve done a couple of basic ones.
One Last Thing Before You Start
You don’t need perfect technique or expensive tools. But you do need a bit of patience and the right setup. Once you get into it, making garden stepping stones becomes one of those projects you keep coming back to. You start with a path, then suddenly you’re adding more sections, tweaking layouts, maybe even redoing older ones.
If you want your stones to look consistent from the start, take a look at the options from Stone Master Molds.
FAQs: DIY Concrete Stepping Stones
How do you make concrete stepping stones?
You mix concrete, pour it into a prepared mold, remove air bubbles, level the surface, and let it cure before taking it out. After that, it continues to harden over several days.
How long does it take stepping stones to dry?
They usually set enough to remove from the mold in 24 to 48 hours. Full curing takes about a week, sometimes longer depending on conditions.
How do you keep stepping stones from cracking?
Stick to the right water ratio, avoid overmixing, and let them cure gradually. Quick drying is what often causes cracks.
How far apart should stepping stones be?
Around 18 to 24 inches works for most people. Test your natural stride before fixing it in place. It makes a difference.