FAQ
What type of cement do you use to make concrete for manufactured stone?
You MUST use Portland cement, either Type 1 or Type 3 (Type 3 sets up faster).
How do you mix your own concrete for manufactured stone?
This is one suggestion for mixing the concrete for manufactured stone. There are many other instructions available online, including videos.
THIS IS FOR A 1 PORTLAND CEMENT BAG (94 lbs) MIX. *Portland cement is a must.
– While concrete mixer is running, add approximately 5 gallons of water to mixer
– For smaller batch sizes or if using a bucket, wheel barrow, etc., and a concrete hand mixer, break down ingredients proportionally
– Put (1) 5-gallon bucket of aggregate (expanded shale or clay, size 3/8” to dust) into mixer
– If using pigment, add desired iron oxide pigment to mixer (100% pure, no additives)
– These can easily be found on Amazon, etc.
– Allow it to mix for approximately 2-3 minutes to disperse pigment
– Add Type 1 or Type 3 Portland cement (94 lb bag) to mixer, continuing to mix (Be sure to use PORTLAND cement)
– We recommend Type 3
– If using a plasticizer, add it at this time.
– We recommend a high range plasticizer
– Mix 1 minute
– Gradually add an additional (4) 5-gallon buckets of aggregate
– Add additional water to desired consistency
– Mix approximately 5 minutes
– Add more water as needed
– Pour into the molds which may already have coloring additives…NO RELEASE AGENT NECESSARY
– Vibrate molds to release air bubbles
– Cure in the molds for approximately 24 hours at the minimum of 70 degrees Fahrenheit before demolding. Higher humidity is desired. Can be covered with a tarp to retain more heat and humidity.
– Continue to cure demolded stones at 70 degrees or greater until ready.
Can you use a pre-bagged concrete mix to make manufactured stone?
This is one suggestion for mixing the concrete for manufactured stone. There are many other instructions available online, including videos.
BE SURE TO USE A CONCRETE MIX THAT CONTAINS PORTLAND CEMENT.
– We recommend Sakrete Maximizer, as it has lightweight aggregate, is high strength, and yields more product, but there are many kinds you can use.
– Follow manufacturer’s instructions for mixing
– If using pigment, add desired iron oxide pigment to mixer (100% pure, no additives)
– These can easily be found on Amazon, etc.
– A plasticizer can be added to reduce the amount of water in the mix
– Pour into the molds which may already have coloring additives… NO RELEASE AGENT NECESSARY
– Vibrate molds to release air bubbles
– Cure in the molds for approximately 24 hours at the minimum of 70 degrees Fahrenheit before demolding. Higher humidity is desired. Can be covered with a tarp to retain more heat and humidity.
– Continue to cure demolded stones at 70 degrees or greater until ready.
Can you use any type of aggregate to make concrete for manufactured stone?
For manufactured stone that is being installed vertically, on a wall, you should use lightweight aggregate, such as expanded shale or clay, so that the product is not heavy.
For pavers, wall caps, etc., you could use a heavier aggregate, such as limestone. However, we recommend all aggregates to be about 3/8” in size, plus fines (smaller particles of the aggregate).
How do you color manufactured stone?
To achieve an integral color (within the concrete mix) you will want to use 100% pure iron oxide pigments. These are sold online on Amazon, eBay, Zoro, etc. We recommend Empire Blended, too. Here is a link to their integral color products:
https://www.empireblended.com/engineered/rainbowdecorative-rainbowintegralcolor.html
If you want to add a face color, which is color on the surface of the stone that complements the integral color and make the stone more realistic, you can use these iron oxide pigments. We recommend sprinkling the pigment in the mold with a sieve where you want to see the additional color and brushing it in the mold with a natural bristle brush like China bristle, not synthetic. Or you can dip the brush in a cup of the pigment and paint it in the mold. You can also use more than 1 pigment color to add character to the stones. Additionally, some people use concrete stain after the stone has cured. Wet iron oxide pigment mixes are also available.
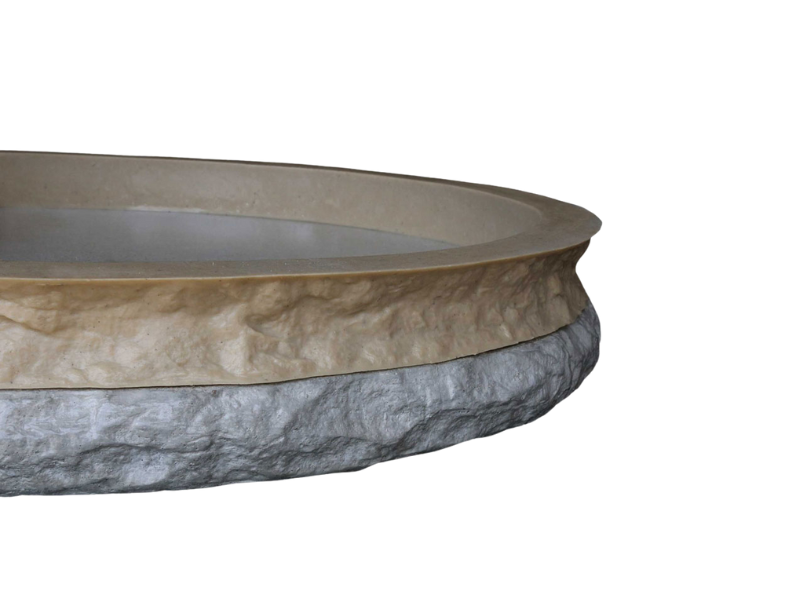
How do you care for rubber molds?
Keep the molds indoors in a clean location. You can use heavy duty cardboard between the molds, as it is easier to stack and unstack the molds, as well as to carry them.
To clean the molds, use a putty knife or plastic scraper to scrape any hardened concrete off the molds, being careful not to gouge the rubber. To remove excess pigment or dirt, you can use Clorox disinfecting wipes or another brand to wipe the mods. For any stubborn stains, you can use acetone on a rag. Be sure to wipe off any excess.
Also, for iron oxide pigment stains in the mold, if you pour the mold again, this should remove the color. You can also recolor the mold and pour it.
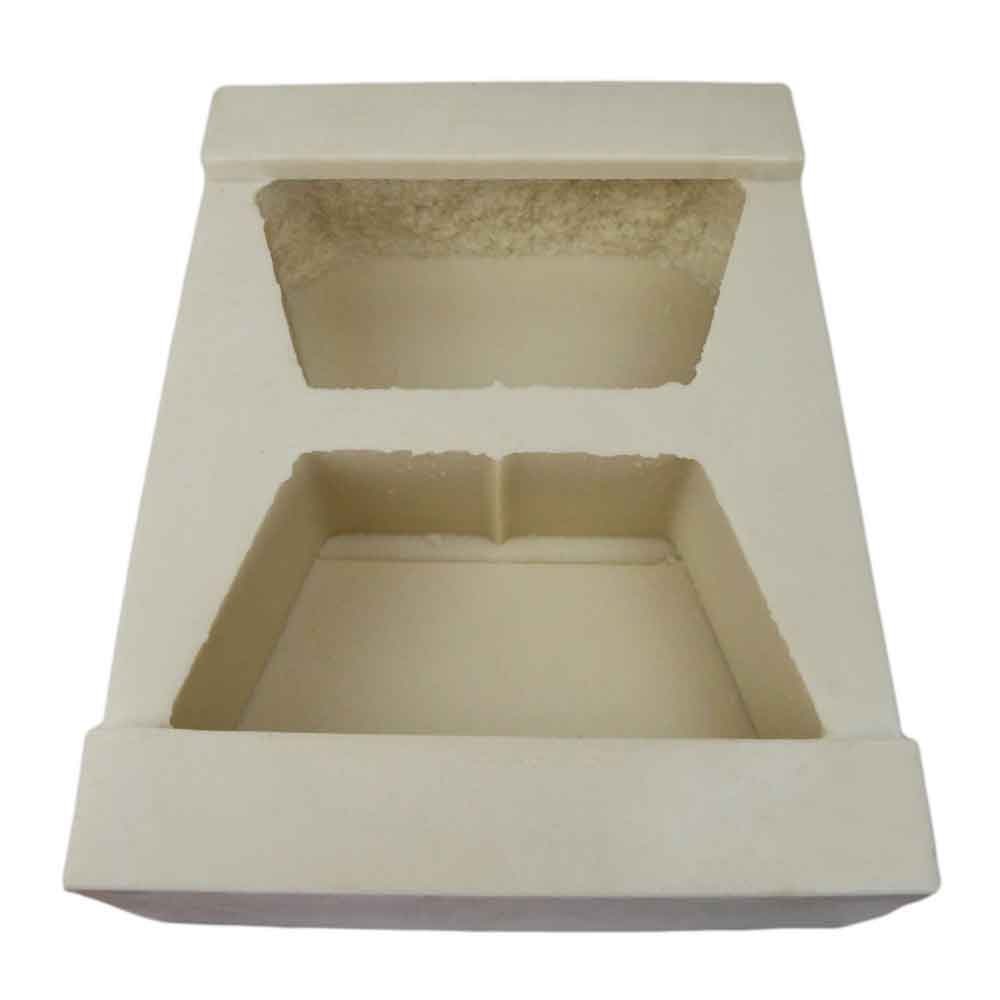
How do you pour a 1-step corner mold?
A corner plug can be used (sold separately) for 1-step corners, or you can create your own from melamine, plywood, etc. 1-step corners allow you to pour the corners in one step. Pour the long, horizontal end first, place the plug on the mold, vibrate, then fill the open, short end and lightly vibrate again. Top off the short end with concrete, if necessary and lightly vibrate one more time.
How do you pour a 2-step corner mold?
2-step corner molds do NOT require a corner plug. Pour the long side of the corner first, vibrate lightly, let the concrete partially set, then tilt it and pour the short end of the corner. Timing is everything.
You can also make a corner support from plywood or melamine to make it easier to flip and to support the mold.
On your website, you show 5 versions of stone veneer flats and 3 versions for stone veneer corners. Do you have more versions?
Yes. If you need more than these numbers of versions, please contact us and we can make more.
Do you make custom molds?
Yes. If you are needing a custom mold, please contact us via our Contact Form on our website, give us a call, or shoot us an email and we will take a look at your project and determine if it’s something we can create.
Explore Our Mold Collections
Our mold categories cover all aspects of concrete design—stone veneers, landscaping, form liners, and more. No matter your project, our durable molds provide the versatility and detail needed to achieve professional results.