The skill of creating DIY rustic pavers that look refined and professionally installed is no longer complicated because with the help of the right molds, materials, and techniques, now homeowners and small contractors can produce rustic concrete pavers that can be as good as high-end stone without the high-end price tag.
This article will guide you through everything you need to know, like mold selection, mixing, coloring, curing, and installation. It will also discuss the most common mistakes that make DIY pavers look “DIY.” If your goal is durable, realistic, concrete rustic pavers with true stone character, then you are in the right place.
What Are DIY Rustic Pavers?
DIY rustic pavers are concrete paving stones that are made at home with the help of specialized molds that replicate natural stone textures. When done correctly, these pavers feature rustic stone texture pavers with organic surface details, straight edges, and consistent thickness.
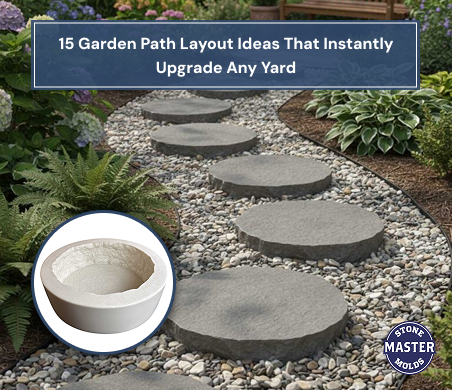
Unlike basic square concrete slabs, modern rubber molds for concrete pavers allow you to create pavers suitable for patios, walkways, garden paths, and edging with impressive realism.
Benefits of Making Your Own Rustic Concrete Pavers
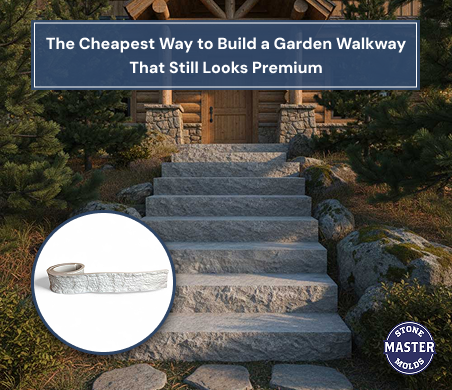
Cost Savings Without Compromising Style: Professional stone pavers can be expensive due to material and labor costs. DIY pavers are one of the best ways to reduce expenses while still delivering premium aesthetics.
Customization: Choose your color, texture, and layout. With the help of pigments and finishing techniques, you control the final look.
Professional Results at Home: Using production-quality molds ensures consistent size, thickness, and texture. It also eliminates the uneven look that gives away amateur projects.
Long-Term Durability: If DIY pavers are made with high-strength concrete and cured properly, then they can last for decades under foot traffic.
DIY Pavers vs Professional Pavers
The major difference between DIY pavers and professional pavers is not only the skill involved in making it, but also the tools and process.
Professional pavers are made by these steps and techniques:
- They are made using high-quality rubber molds.
- They use strong concrete mixes (6000–8000 PSI).
- They use proper vibration, curing, and coloring techniques.
When DIYers skip these steps or use low-quality plastic molds, they suffer further, which is why it is essential to follow professional methods so that your DIY project can match commercial results.
How to Make Rustic Concrete Pavers Look Professional
1. Choose the Right Mold
The biggest secret to avoiding DIY-looking pavers is mold quality.
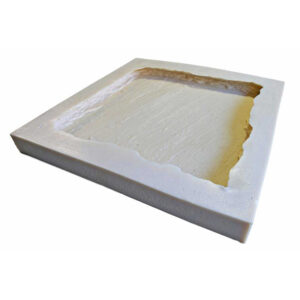
Rubber molds like the Stone Master Molds Rustic Paver Mold (24″L x 12″W x 1.5″D) provide you with many benefits, like:
- Deep and realistic stone texture.
- It gives straight and smooth edges on all sides.
- It gives easy release with NO release agent required.
Plastic molds flex unevenly and often leave shiny and unrealistic surfaces.
2. Use a High-Strength Concrete Mix
If you want to get professional results, then strength matters. You should always choose a mix containing Portland cement with at least 6000 PSI compressive strength.
Pro tip for concrete pavers:
Use Sakrete PRO-X180, which reaches up to 8000 PSI at 28 days, because it is best for foot-traffic pavers.
Add a plasticizer to reduce water content.
3. Color Like Real Stone
To achieve natural stone tones, you can follow these steps:
- Use 100% pure iron oxide pigments.
- Add pigment directly to the mixer for consistent color.
- Lightly dust face color pigments into the mold before pouring for depth.
This layered coloring technique is how professionals create realistic stone variation.
4. Eliminate Air Bubbles
Air pockets are one of the most common DIY paver mistakes.
Avoid DIY paver mistakes by:
- Vibrating the mold after pouring.
- Gently tapping the sides.
- Never skipping vibration because it is critical for surface detail.
5. Cure Properly (Don’t Rush This Step)
Improper curing ruins otherwise perfect pavers.
- Cure in the mold for at least 24 hours.
- Maintain 70°F or higher with good humidity.
- Cover molds with a tarp to retain moisture.
- Continue curing after demolding before installation.
Common DIY Paver Never to do Mistakes
- Never use thin and flimsy plastic molds.
- Never add too much water to the mix.
- Never skip vibration.
- Never demold too early.
FAQ: DIY Rustic Concrete Pavers
What mold is best for concrete pavers?
High-quality rubber molds are the best choice. They provide realistic texture, consistent sizing, and long-term durability compared to plastic molds.
Are rubber molds good for concrete pavers?
Yes. Rubber molds are ideal because they release easily, don’t require release agents, and can be reused hundreds of times with proper care.
Rubber molds vs plastic molds for concrete—what’s better?
Rubber molds outperform plastic molds in texture depth, longevity, and ease of use. Plastic molds often warp and wear quickly.
Are there reusable concrete paver molds?
Yes. Production-quality rubber molds, like those from Stone Master Molds, are designed for hundreds of pours.
How to make concrete pavers look like stone?
Use deep-texture rubber molds, layered pigments, vibration to remove air bubbles, and proper curing to achieve realistic stone finishes.
Final Pro Tip
If you want DIY rustic pavers that truly don’t look DIY, start with professional-grade molds. Everything else builds on that foundation.
Ready to Create Pavers That Look Professionally Made?
Choose Stone Master Molds trusted, USA-made rubber molds for concrete pavers designed for realistic texture, easy release, and long-term durability. Whether you are building a patio, walkway, or landscape feature, Stone Master Molds gives you the tools to create concrete that looks like real stone.
Upgrade your DIY project today with Stone Master Molds and pour with confidence.