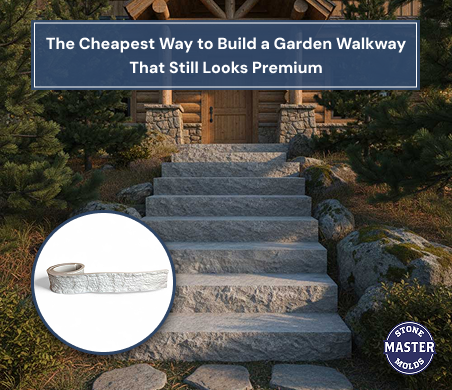
You don’t need a professional landscaping crew or a huge budget to improve your garden. Discovering how to make a garden path with concrete molds is among the most pleasurable and inexpensive methods of adding charm and utility to your outdoor area. If you want the appearance of natural flagstone, traditional brick, or cobblestone, using top-notch molds can give you a professional finish with just a simple “fill-and-set” operation.
At Stone Master Molds, we supply professional-grade tools for turning a mere bag of concrete into a masterpiece. You can find everything from complex concrete form liners to sturdy concrete stepping stone molds among our products that both DIYers and contractors can use to create timeless beauty.
Preparation: Choosing Your Molds and Patterns
Before mixing your very first batch of concrete, you will need to decide on the look of your walkway. Your choice of pattern will influence the overall character of your garden.
- Reusable Concrete Molds for Pathways: Usually, these are large frames with a grid pattern that you set on the ground, fill with concrete, and then remove to disclose a pattern of multiple “stones.”
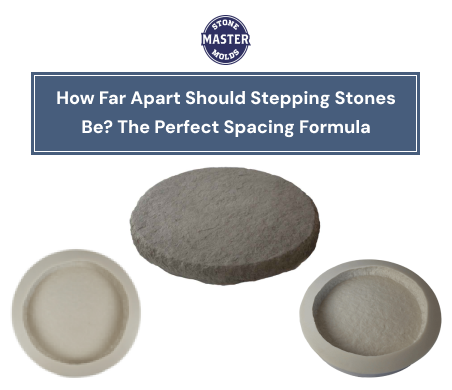
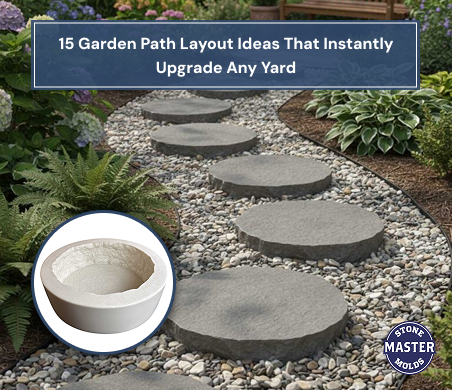
- Concrete Molds for Walkways: If you want a fairy tale or scattered path, these separate molds provide you with the freedom to cast stones individually and embed them in a bed of mulch or gravel.
- Decorative Concrete Molds & Form Liners: While using a solid slab for your path, concrete form liners are a good option when you want the edges to have the look of high-end stone or wood texture. The form liners create a texture edge but are not applied to the flat surface of the path. The path would be smooth on top (unless you use a stamp to create a texture) and the edges would be formed with our form liners.
How to Use Concrete Molds for a Garden Path
1. Prepare the Site
Remove grass, weeds, and other plant material from the area. If you want a neat finish, dig a shallow trench (2–3 inches deep) and then level the soil. A small layer of sand or fine gravel on top will aid in drainage and keep the concrete molds for the garden path from moving.
2. Making the Concrete Mix
Getting the right blend is essential for a long-lasting result. Ideally, go for a premixed concrete with high-strength. The texture of the mixture should resemble peanut butter: thick enough to keep its shape but still liquid enough to be poured. Also, at this point, it is possible to add either liquid or powder colorants to produce decorative concrete molds that go well with your house design.
3. Position the Mold and Fill the Mold
Lay your DIY concrete path mold down at the beginning of your path. Fill the mold with concrete and decorously scrape away any excess concrete from the surface after the mold is filled.
4. Add Texture and Detail
If you want to add texture to the surface, you can use a stamp while the concrete is still wet. Note that form liners are different from stamps—they form the edges and are screwed to a surface with concrete poured into them, rather than being pressed onto wet concrete.
Why Quality Molds Matter for Your DIY Project
You might see cheap plastic molds at big-box stores, but buying professional-grade tools from Stone Master Molds will give you more benefits:
- Durability: Our concrete molds for garden path are made from very strong materials that do not change shape or break with just a few uses.
- Convenience: A perfect mold detaches from concrete, better allowing you to spend less time on cleaning and fixing.
Conclusion
Constructing a walkway is not only a practical measure, but it’s also a way of designing a route in your garden. Implementing these DIY garden path ideas with concrete will help raise the value of your home and allow you to have a tastefully designed outdoor area for a long time. If you require just a basic stepping stone path or a magnificent cobblestone pathway, having appropriate tools is crucial.
Are you gearing up to initiate your outdoor makeover? Explore the Stone Master Molds Collection now and get the ideal concrete form liners and molds for your upcoming project!
Frequently Asked Questions
How to use concrete molds for a garden path?
First, put the DIY concrete path mold on the flat surface. Second, fill it with fresh concrete. Next, level the surface. Lastly, after about 5 minutes, lift the mold straight up. Repeat these steps until the path is finished.
What is the best concrete mix for molds?
The best concrete mixture should be a high-strength, fiber-reinforced premix. Prepare it with a firm consistency so the “stones” remain in shape immediately after the mold is taken away.
Can concrete molds be reused?
Definitely! Great quality reusable concrete molds for pathways can be used hundreds of times. The mold is usually clean when it is demolded. We almost never have to rinse them, just wipe away any remaining residue with a damp rag or Clorox wipes to maintain the crispness of the patterns.
How to make stepping stones with molds?
To make individual stones, use concrete stepping stone molds. Fill each mold, level the top, and allow them to cure fully (usually 24–48 hours) before popping them out and placing them in your garden.